

🔐 Logging In for the First Time
1
You’ll get an email from onboarding@benefit-flow.com inviting you to BenefitFlow. Your account is ready right away, with no password to set up.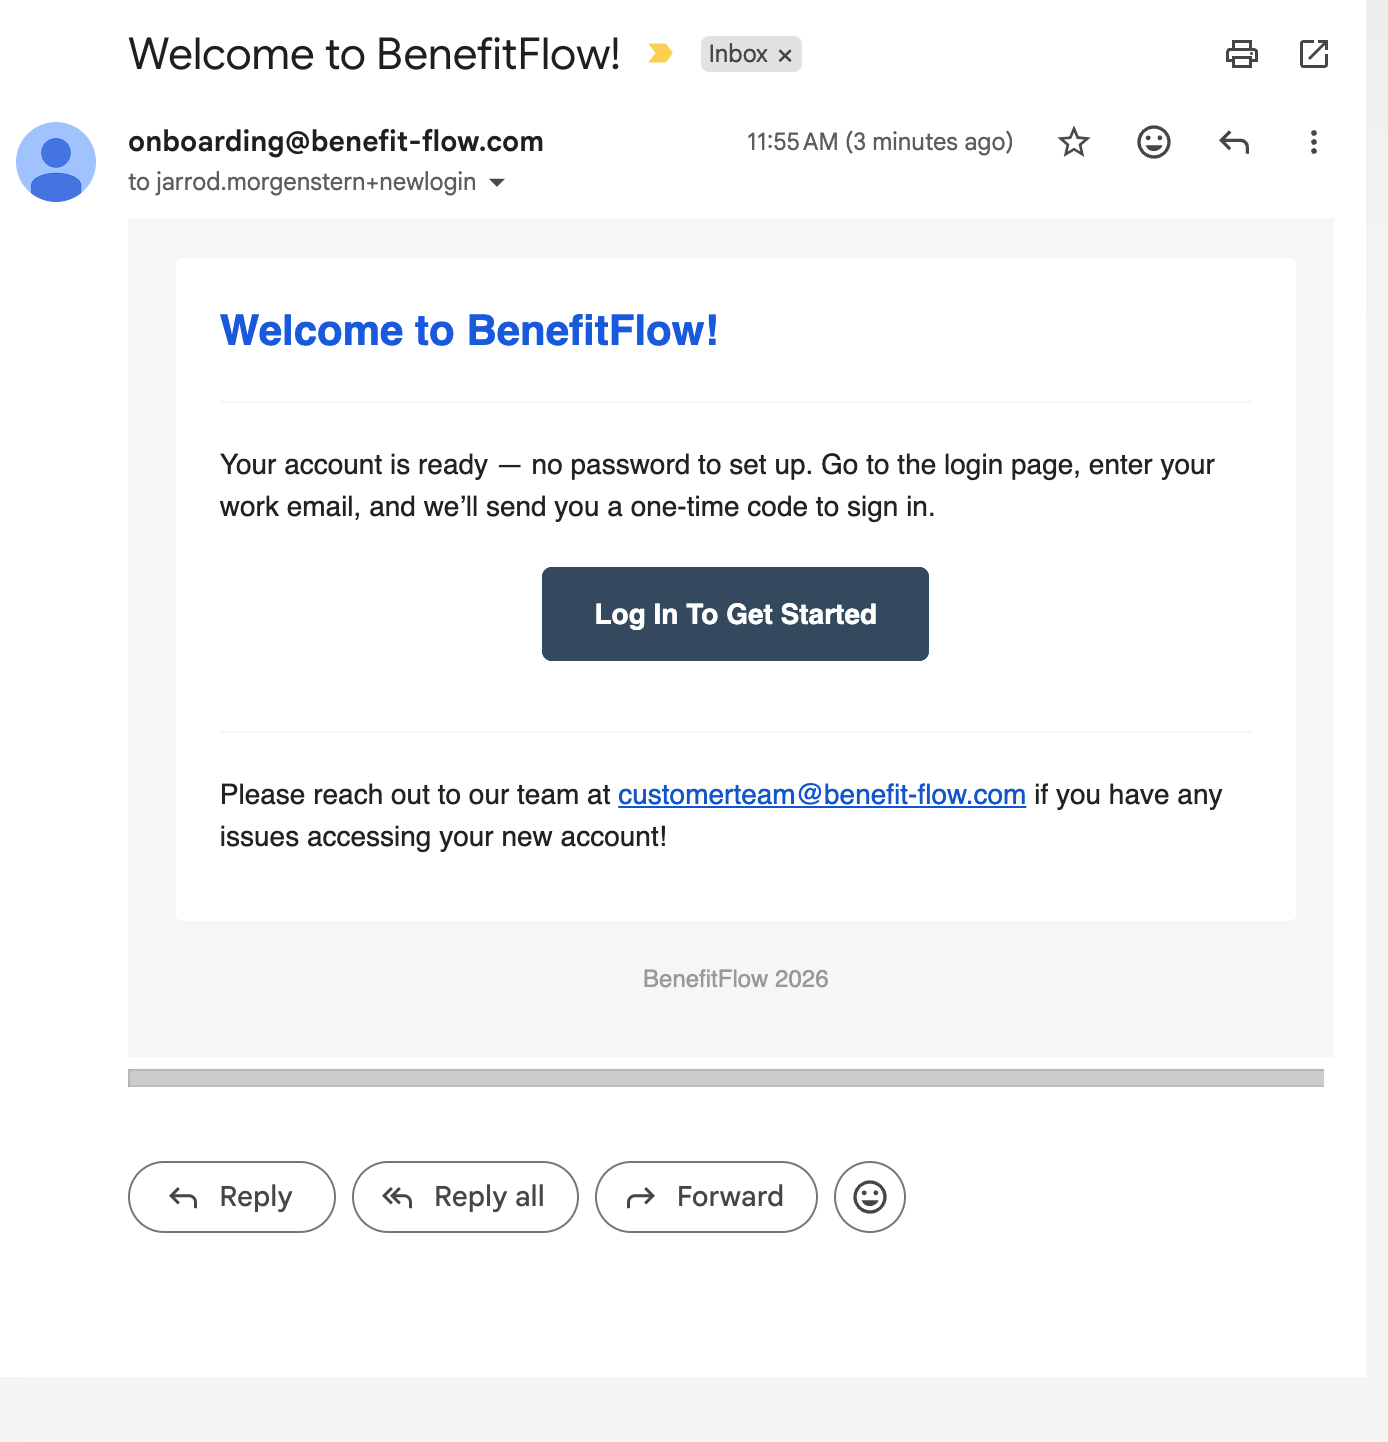
2
Go to: www.benefitflow.com/login
3
Enter your work email. We’ll email you a one-time code that’s good for 15 minutes. Enter it to sign in. Prefer a password? Choose Try another way on the sign-in screen, see Signing in.
4
Verify it’s you (if your organization uses MFA)If multi-factor authentication is turned on for your organization, you’ll be asked for a one-time verification code after you sign in. Enter the code we send by email or text. More on this below.
5
Once logged in, you’ll land on Employer search, your home base for prospecting.
🔐 Multi-Factor Authentication (MFA)
MFA adds a one-time verification code to your login for an extra layer of security. Whether it’s required, and how the code reaches you, is set by your organization’s admin.This is separate from signing in with a one-time code, which anyone can choose on the sign-in page instead of typing a password. That code is always emailed and expires in 15 minutes.
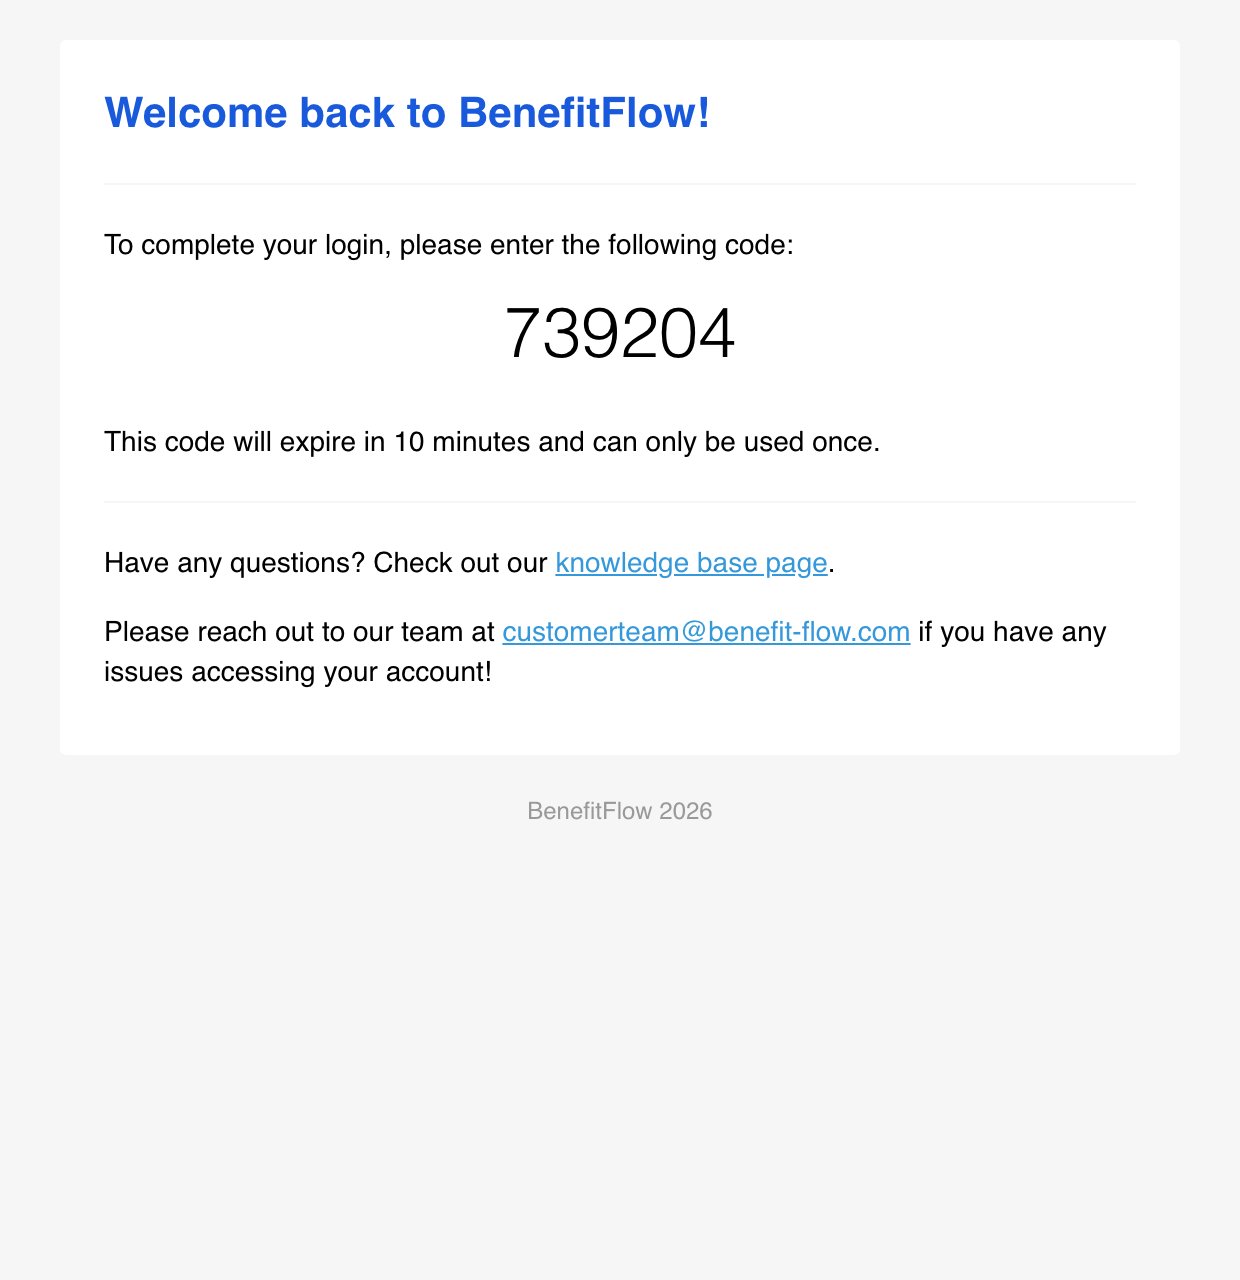
- Email code. A six-digit code is emailed to you. Enter it to finish signing in.
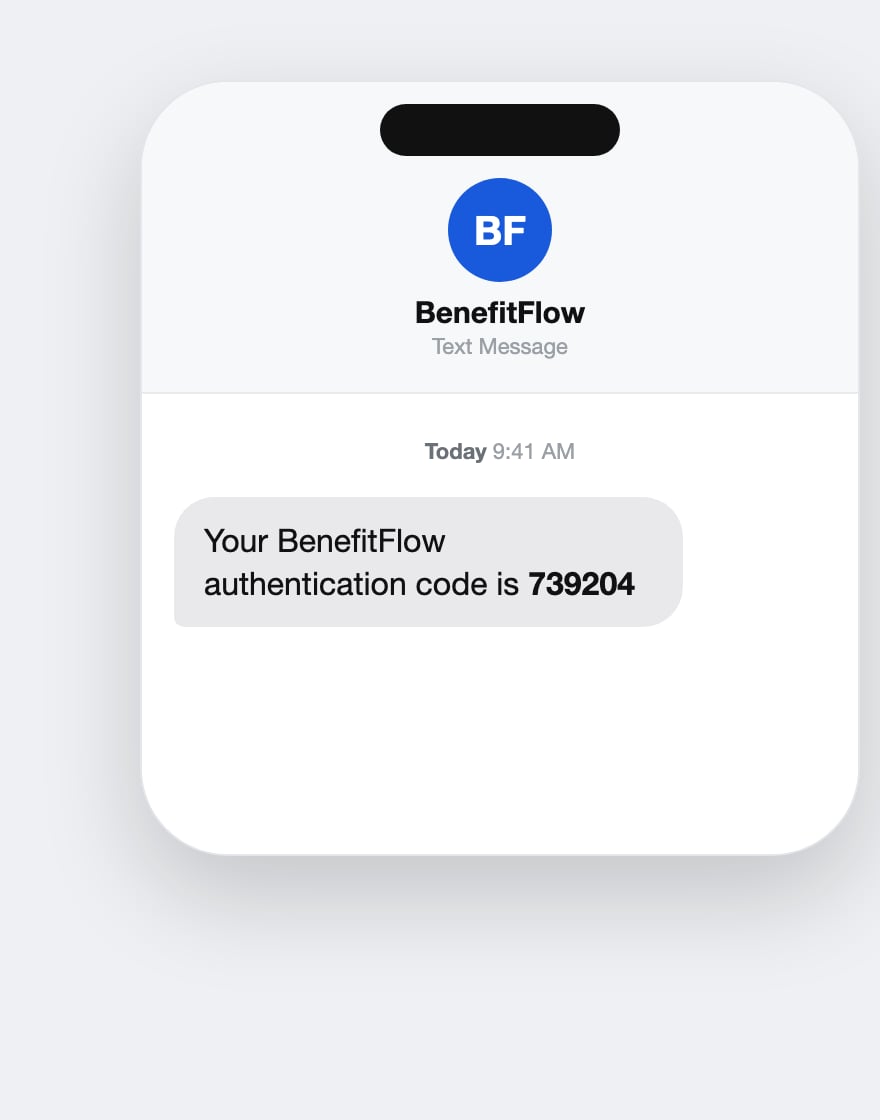
- Text message code. A six-digit code is texted to your phone. The first time, you’ll enter your mobile number with your country code in front. For U.S. numbers, that’s
+1before the area code (for example,+15551234567). - No code. If your organization doesn’t use MFA, you go straight in after signing in.
✅ What New Users Should Know
Here are the top things to keep in mind when logging in for the first time:1. You’ll See Three Primary Tabs
- By Broker – Reverse-engineered client lists of every benefits broker, by office.
- By Employer – Search U.S. employers with benefits data, renewal dates, and sentiment insights.
- By Contact – Access 100K+ verified producers and 3M+ verified employer contacts, such as HR and finance leaders.
2. Every Filter Updates the Platform in Real Time
As you adjust filters (location, funding type, renewal date, etc.), the system instantly updates brokers, employers, and contacts that match.3. Your Credits Only Count When You Click “Get Contact”
You can view firmographics and filters freely—credits are only used when revealing verified emails and phone number, adding to a list, or exporting contacts.4. Most Data Is Exportable
Click the three-dot menu on any result to export broker lists, employer profiles, or contact records to CSV—or sync directly to your CRM (if integrated).5. You Can Always Press “More Info”
On any broker or employer result, click More Info to dive deeper into:- Client lists
- Broker office locations
- Renewal dates
- Carrier relationships
- Sentiment data
- Decision-maker contacts
🧭 Platform Navigation Guide
Here’s a quick tour of each tab:🔹 By Broker Tab (Start Here)
- See brokerages sorted by highest amount of commissions reported on the 5500
- Click into any firm to see office locations and associated employers (book of business)
- Use filters like geography, employer size, funding type, and renewal date to zero in
- Press “See Clients” to view which employers each broker office serves
- Click “See Contacts” to access producers/account managers by office
🔹 By Employer Tab
- Search employers directly by name, EIN, or website URL, plus location, industry, or headcount
- View employer profiles with:
- Benefit eligible employee counts
- Renewal dates
- Self-funded or fully insured status
- Sentiment trends and vendor usage
- Use this tab when targeting specific employer accounts
- Filter by employer traits or benefit gaps to create smart outreach lists
🔹 By Contact Tab
- Search across our full broker + employer contact database
- Filter by job title, location, carrier appointment, tenure, and more
- Great for building outreach or email campaigns
- Use “Get Contact” to reveal verified email + phone
- Add contacts to lists and push directly to your CRM