Est. Setup Time: 15 minutes
Part 1: Create an Azure App Registration
1
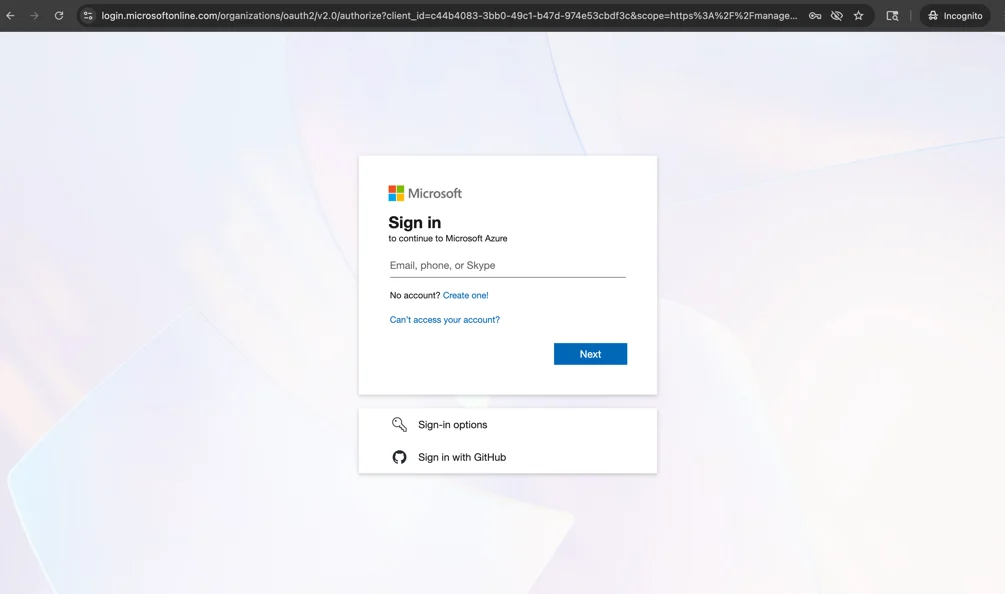
2
Navigate to Microsoft Azure Active Directory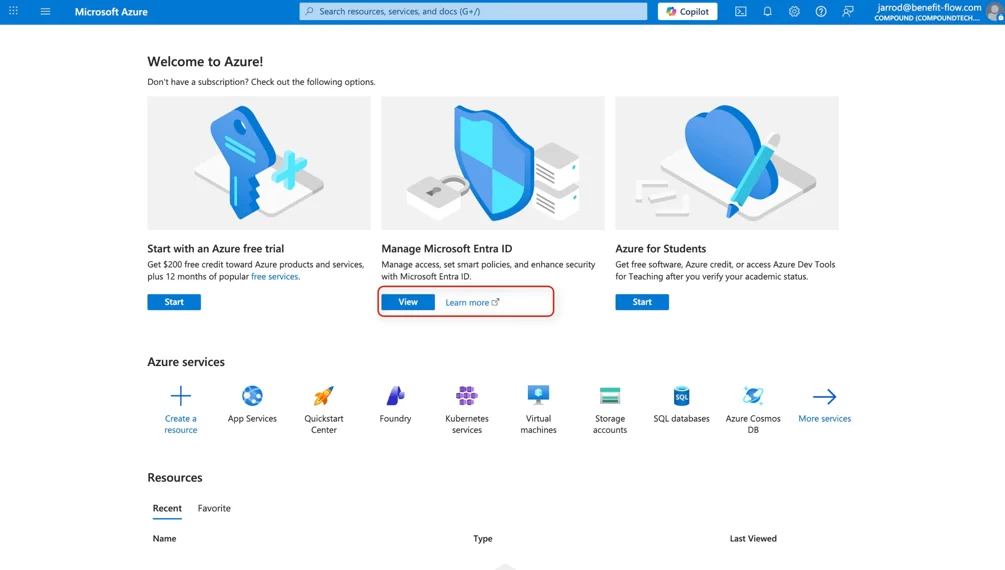
3
Create a Benefit Flow App in Microsoftportal.azure.com/#view/Microsoft_AAD_RegisteredApps/CreateApplicationBlade
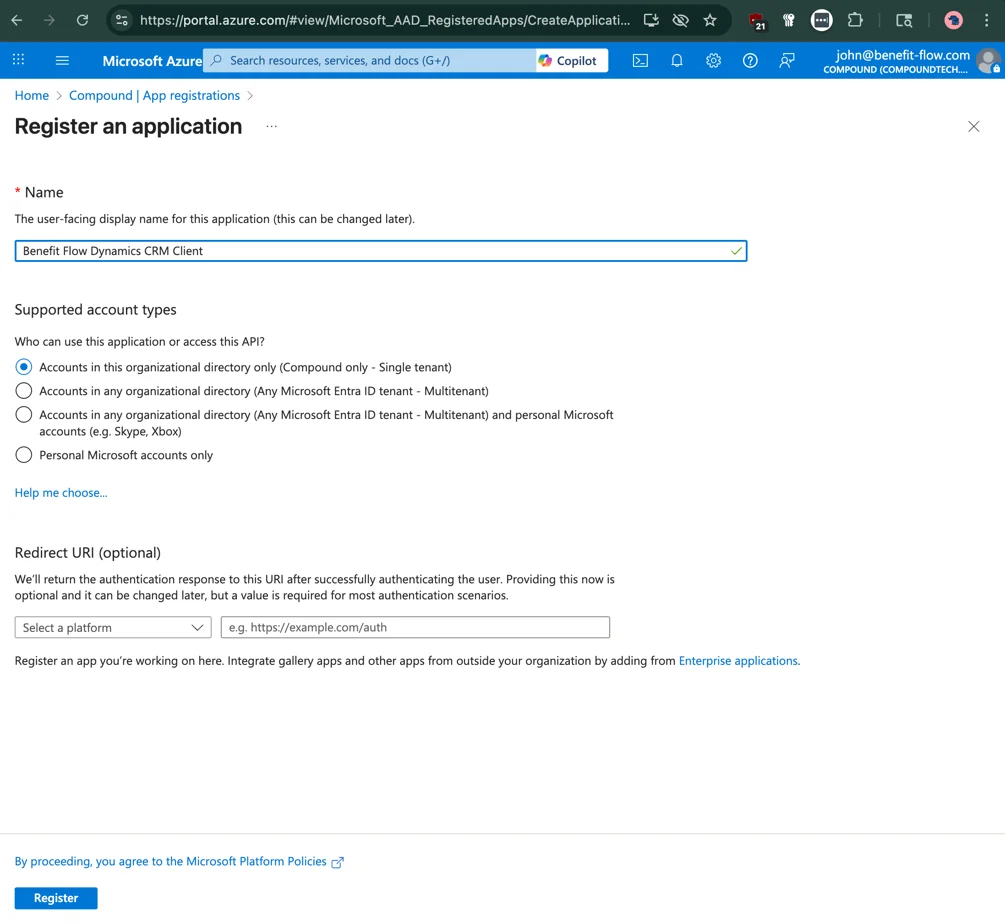
- Click the “View” button for Manage Microsoft Entra ID
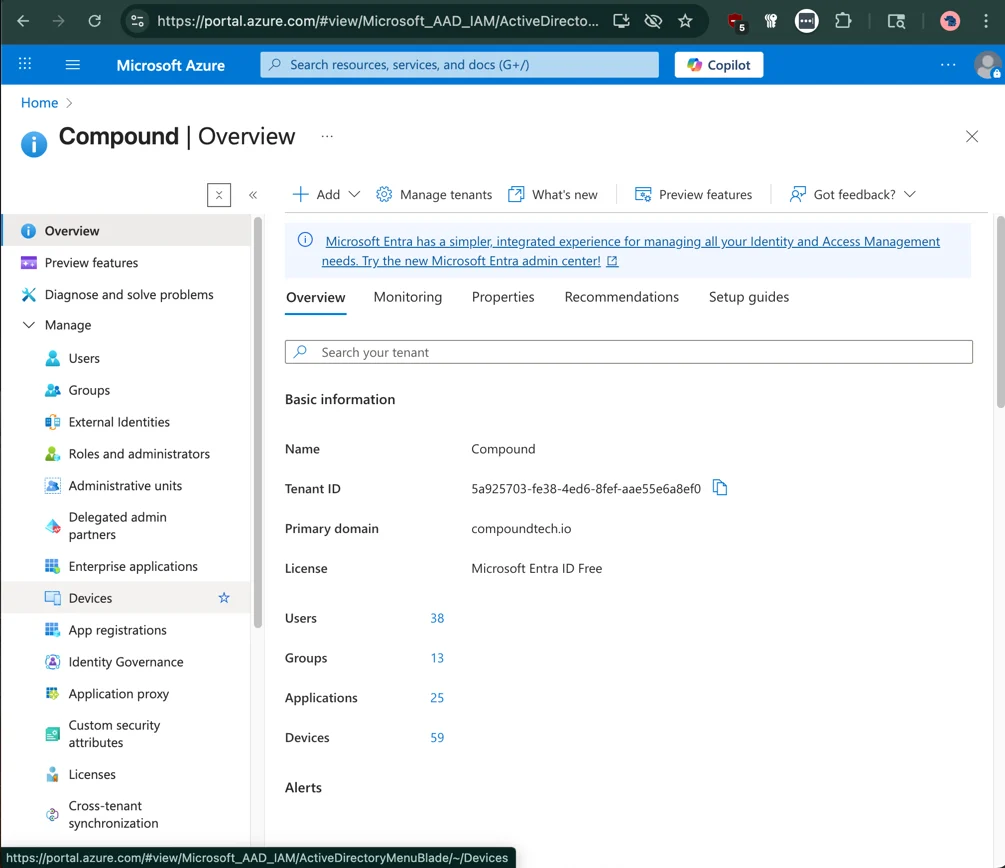
- From your Organization’s Overview page, find the “App Registrations” link within the side navigation bar on the left side of the screen
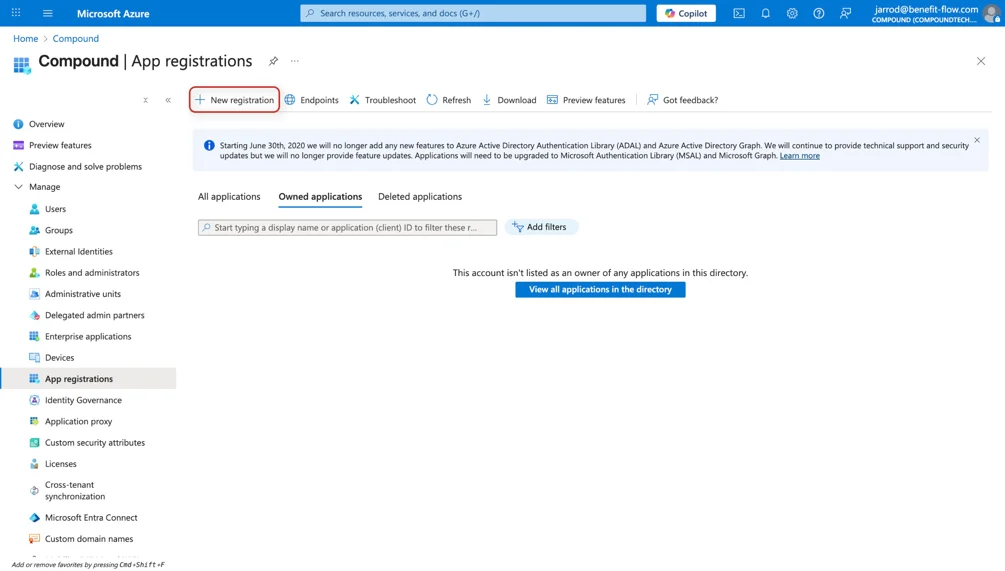
4
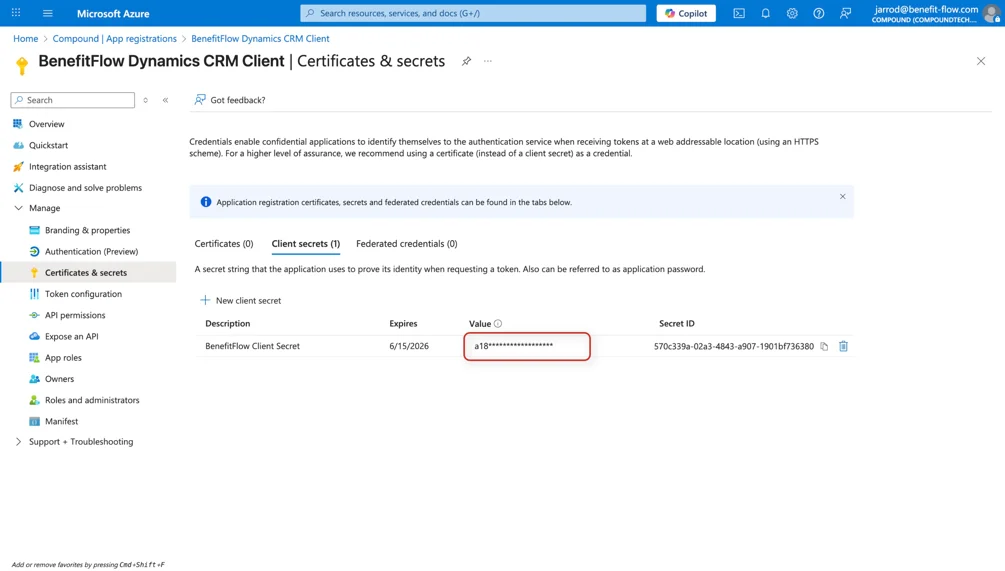
Generate and save the Client Credentials and App Secret for your new application
- Navigate back to the “App Registrations” Page
- Click on the name for your newly created Application
- Click the “Client credentials” button
- Create a new secret for the BenefitFlow integration
5
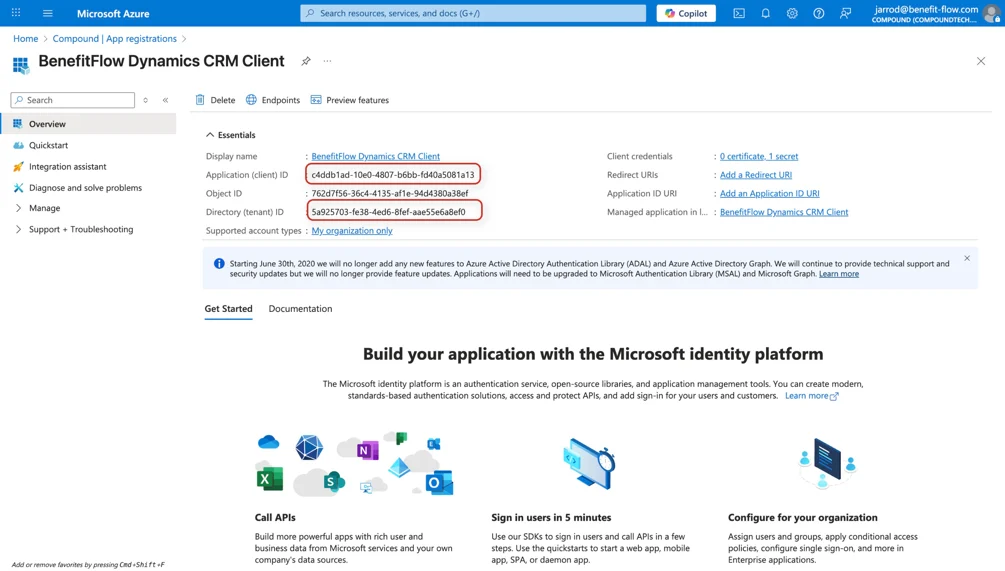
Identify and save your Application ID, Directory ID, newly created Client Secret, and Dynamics Environment URL
Part 2: Create a Power Platform Application User
Steps to Create a MS Power Platform App User
Now with your MS Dynamics App Registration completed for the BenefitFlow CRM integration tool, the final step for establishing a secure connection between the two systems is the creation of an Application User within Power Platform Admin Center1
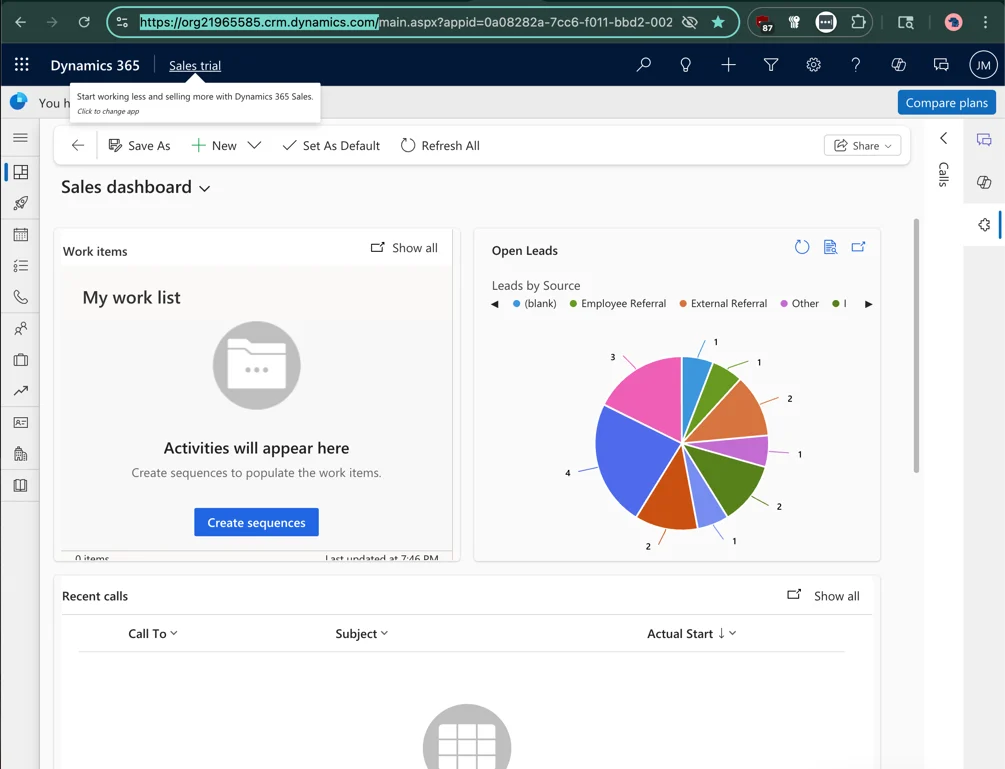
Navigate to the Power Platform Admin Center at the following URL: https://admin.powerplatform.microsoft.com/
2
Click the “Manage” button to navigate to the Power Platform Environments page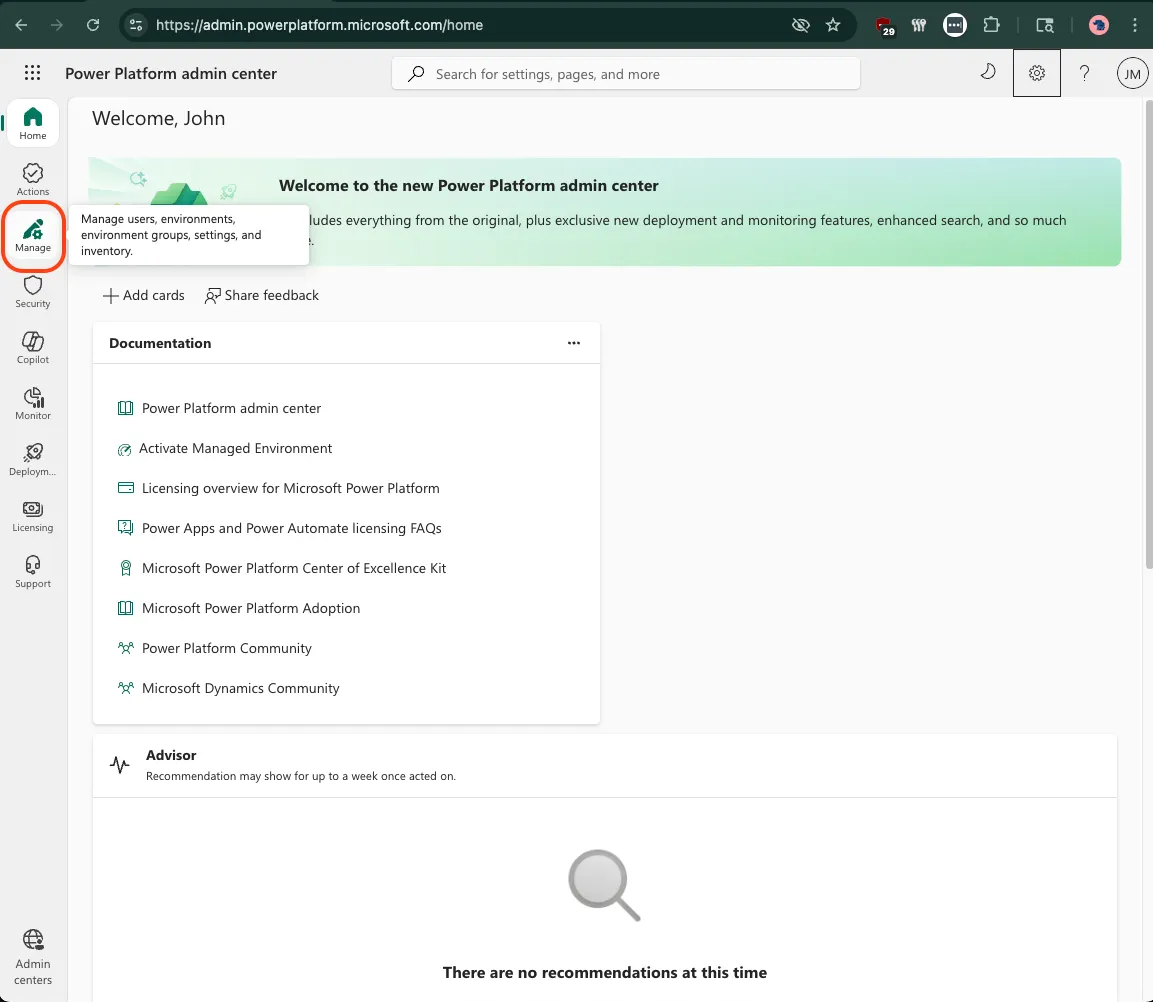
3
Once on the Environments page, select the Microsoft environment that you created your App Registration within (in our example below, we are using the QA environment but this will differ by organization)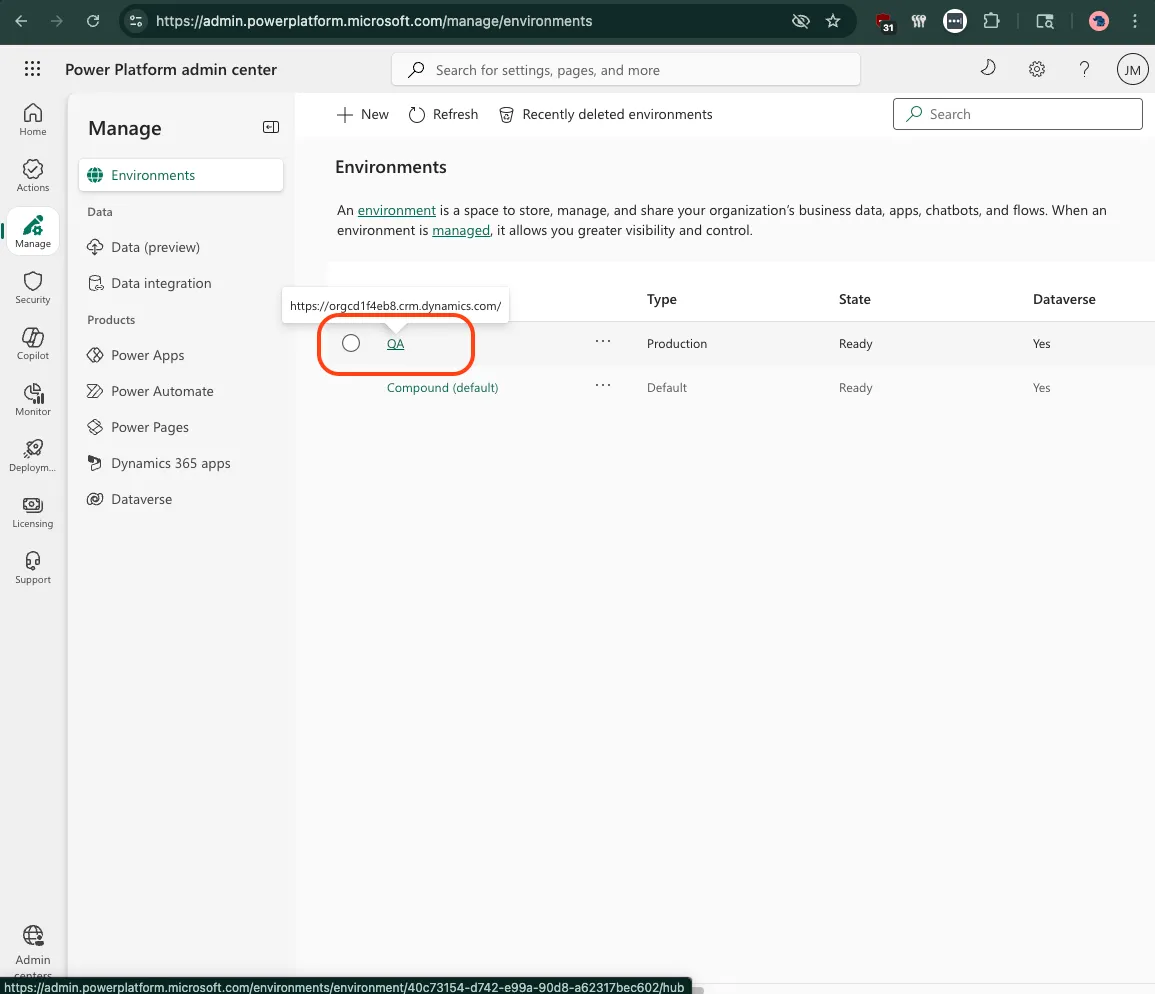
4
Once in the environment-specific management page, click the “Settings” link towards the top of the page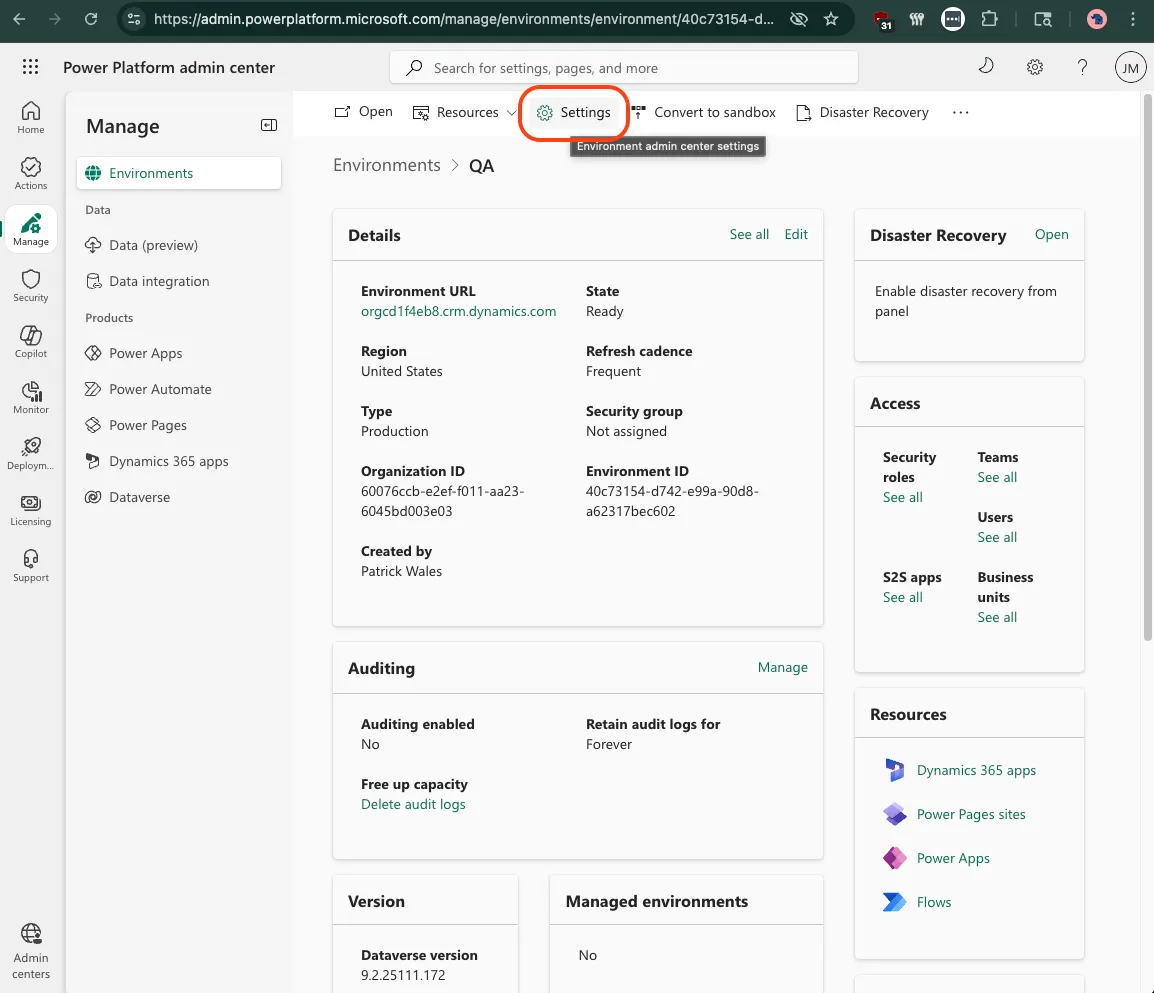
5
From the Settings page for your selected environment, first click the “Users + Permissions” section to expand the option set and then click the “Application Users” option from within that list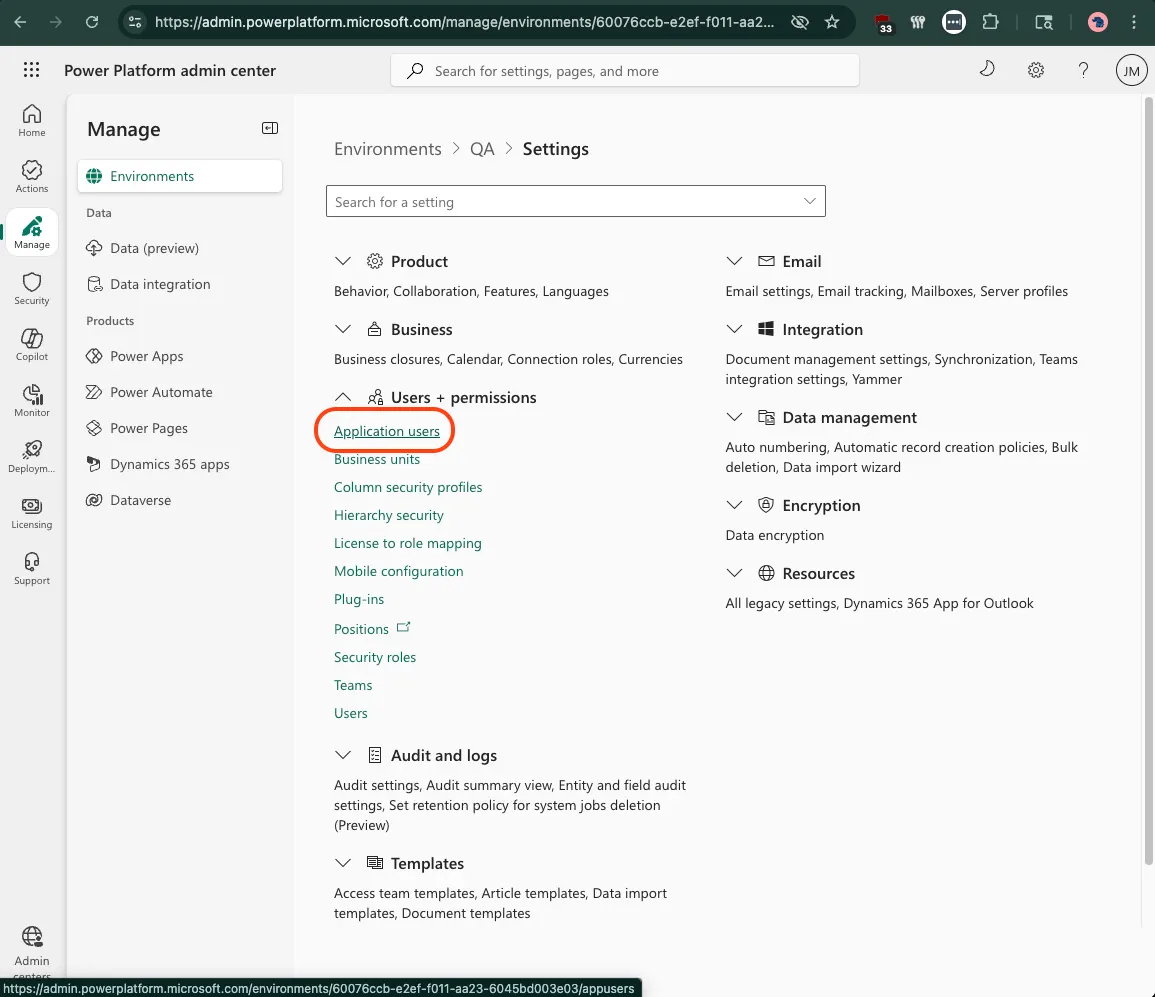
6
From the Application Users settings panel, click the “+ New App User” link at the top of the page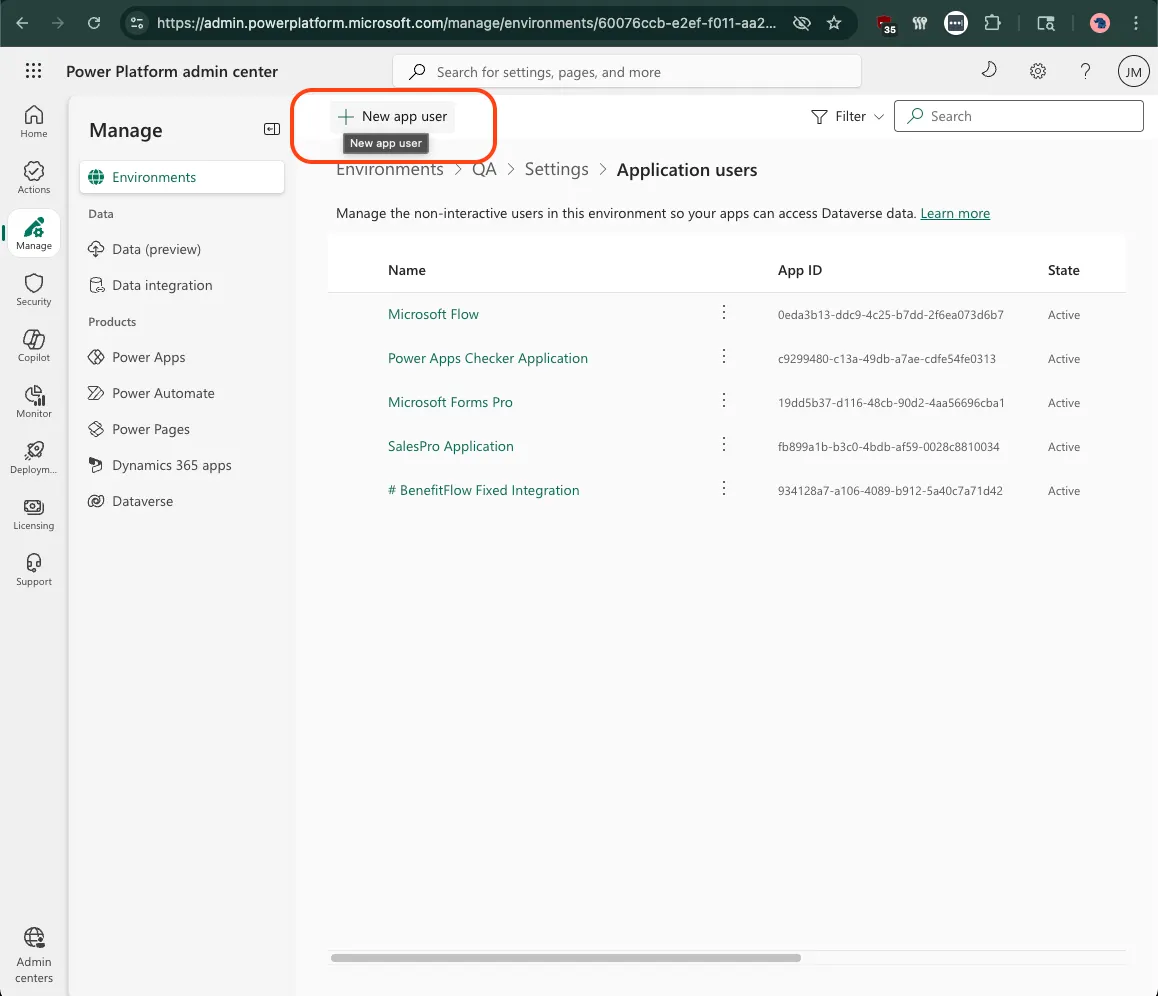
7
For your new Application User that will be used to establish a connection to the BenefitFlow app registration, you can configure your user with the following optionsa. App: Select the name of your newly created App Registration (in our example below, we are using the “BenefitFlow Dynamics CRM Client” App, but your name may differ depending on how you completed the previous steps for the App Registration)b. Business Unit: Select the appropriate Business Unit within your power platform environment (in our experience, most begin with “org” by default so searching that value in your dropdown should yield results)c. Security Roles: we use System Administrator for simplicity and flexibility of the tool, but feel free to use a combination of more limited roles and/or custom security roles so long as the Role Set assigned is able to read Contact, Account, and User data from you Dynamics Dataverse environment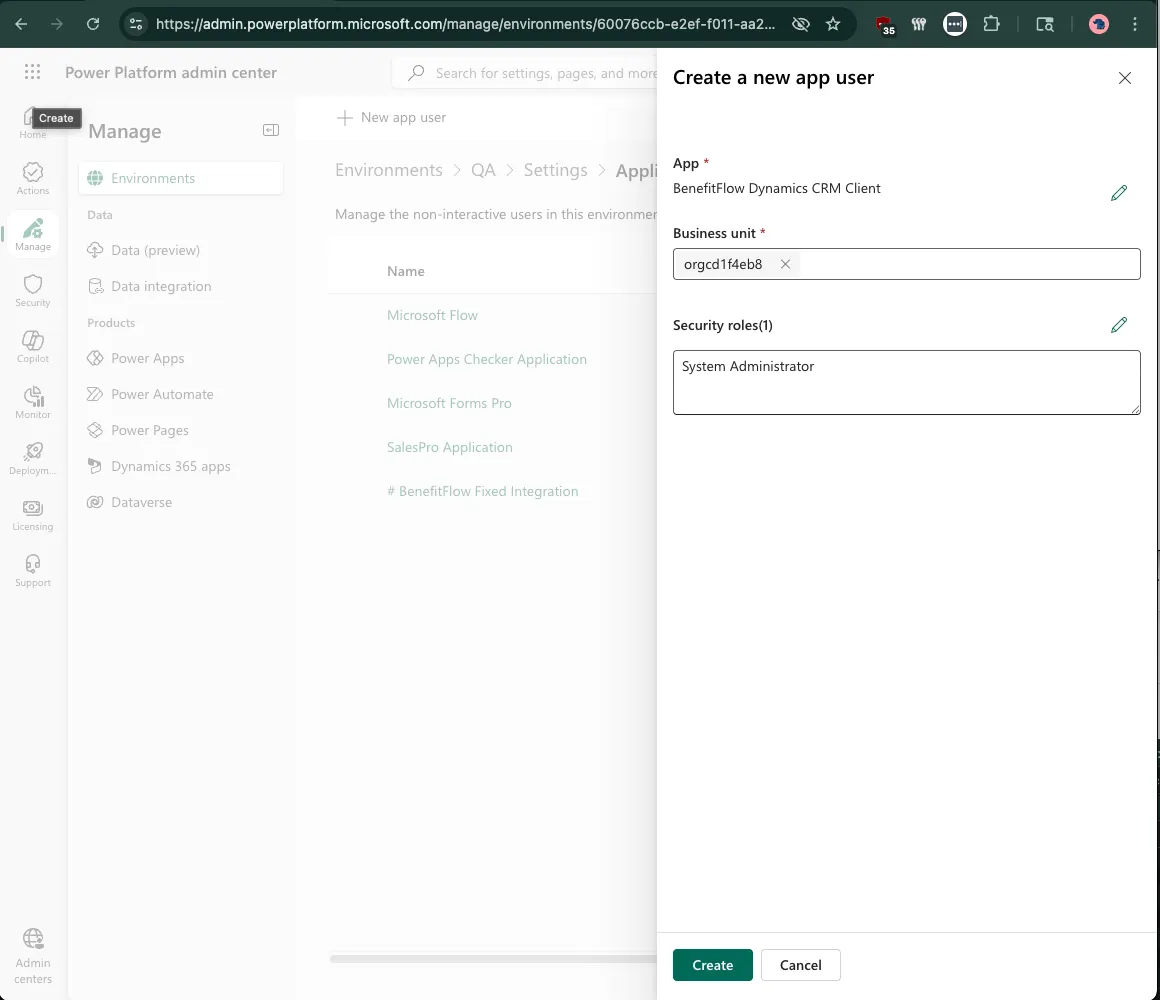
Part 3: Connect to BenefitFlow
1. Connect your new Dynamics Application to BenefitFlow
1
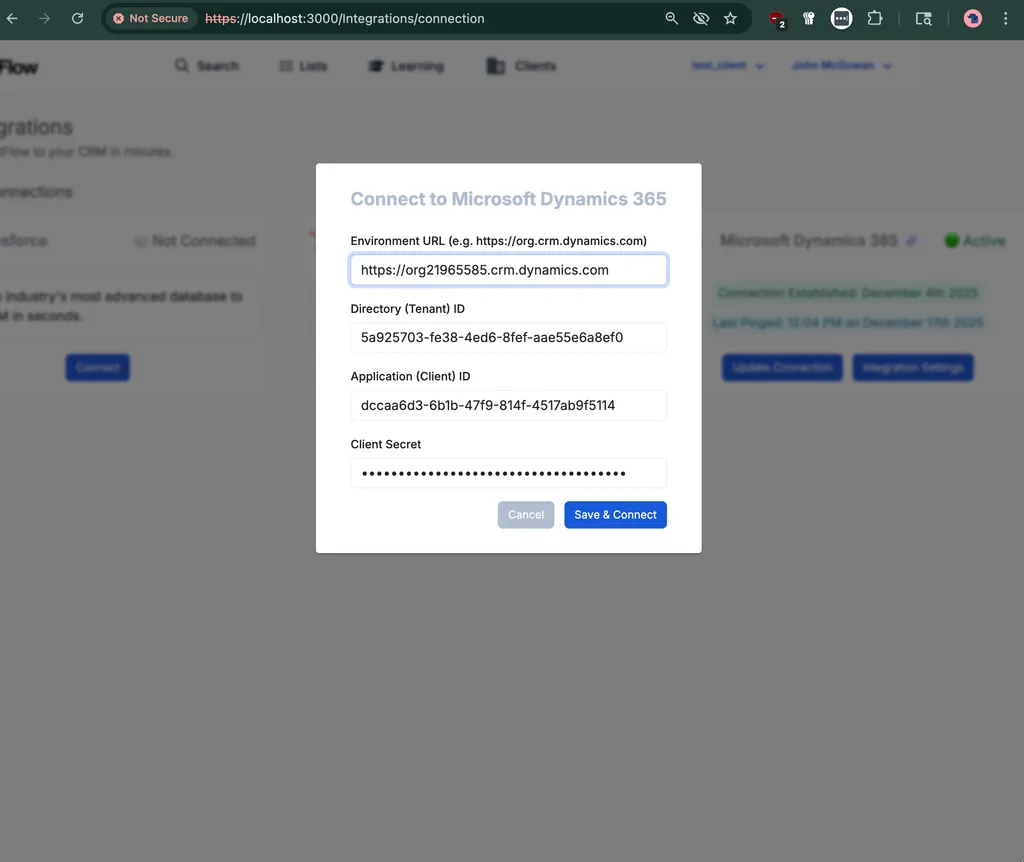
Open BenefitFlow as a team Admin and navigate to integrations screen to connect Dynamics: https://benefit-flow.com/Integrations/connection
2
Select Microsoft Dynamics 365 and save your copied credentials and values.
3
Click Save & Connect!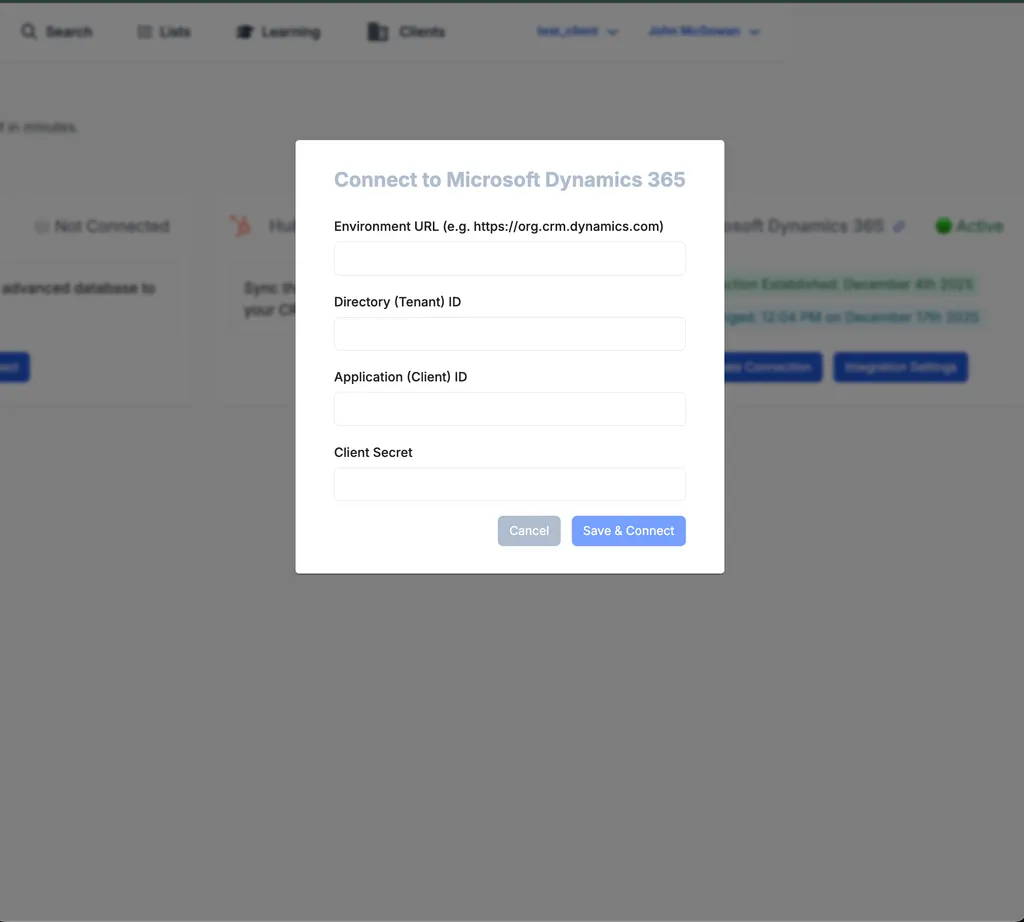
That’s it!
Want to use the integration or verify that it’s working?- Create your own new list or navigate to a list of your choice (https://benefit-flow.com/Lists)
- Confirm that the “Refresh Data” action works without errors
- Push a sample record and click “View in CRM” without errors and to see the updated data in Dynamics.