Creating a List
- Run a search on any tab and apply your filters
- Select the records you want (checkbox on each row, or “Select All”)
- Click Add to List
- Choose an existing list or create a new one
What You Can Do with Lists
- Export to CSV — download your list for offline use or sharing
- Push to CRM — sync list records directly to Salesforce, HubSpot, or Dynamics
- Track accounts — use lists as working pipelines or territory trackers
- Add over time — grow lists incrementally as you find new prospects across sessions
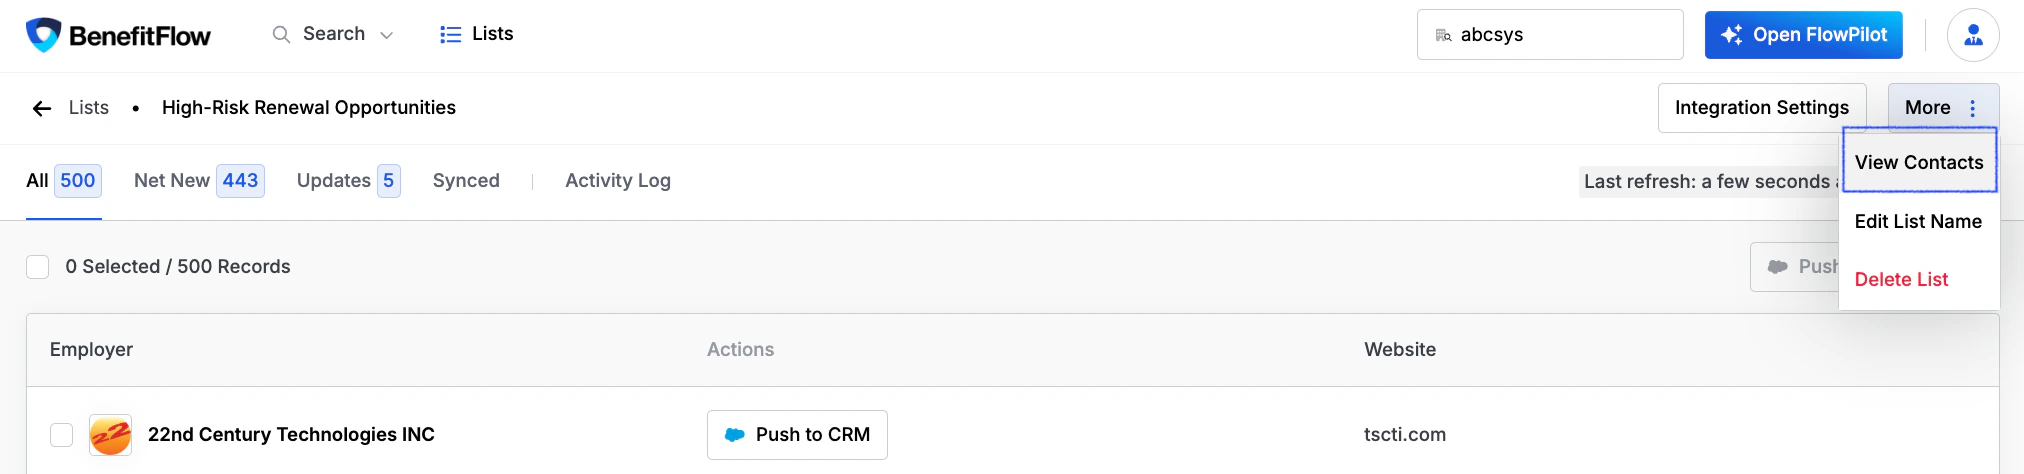
View Contacts from Employer Lists
You can access contacts directly from an employer list without leaving the list view.- Open any employer list
- Click More in the top right
- Select View Contacts to see associated HR decision-makers, executives, and Form 5500 signatories
Private Lists & Saved Searches
List visibility is controlled by the same admin toggle as saved searches. Setting: “Private Lists & Saved Searches” Location: Team Management → Settings When toggled on:- Users will only see lists they created
- Admins always see everything regardless of this setting
- All lists are visible to all users on the account